Home Audio System
Backstory
My family has had an old Philips 5.1 surround-sound system for as long as I can remember, and I never thought anything of it. When we finally moved out of our old house, as I was setting it up, I discovered that the subwoofer had not been properly connected previously. The audiophile in me wanted to upgrade the system to take advantage of the newfound power of our speaker system.
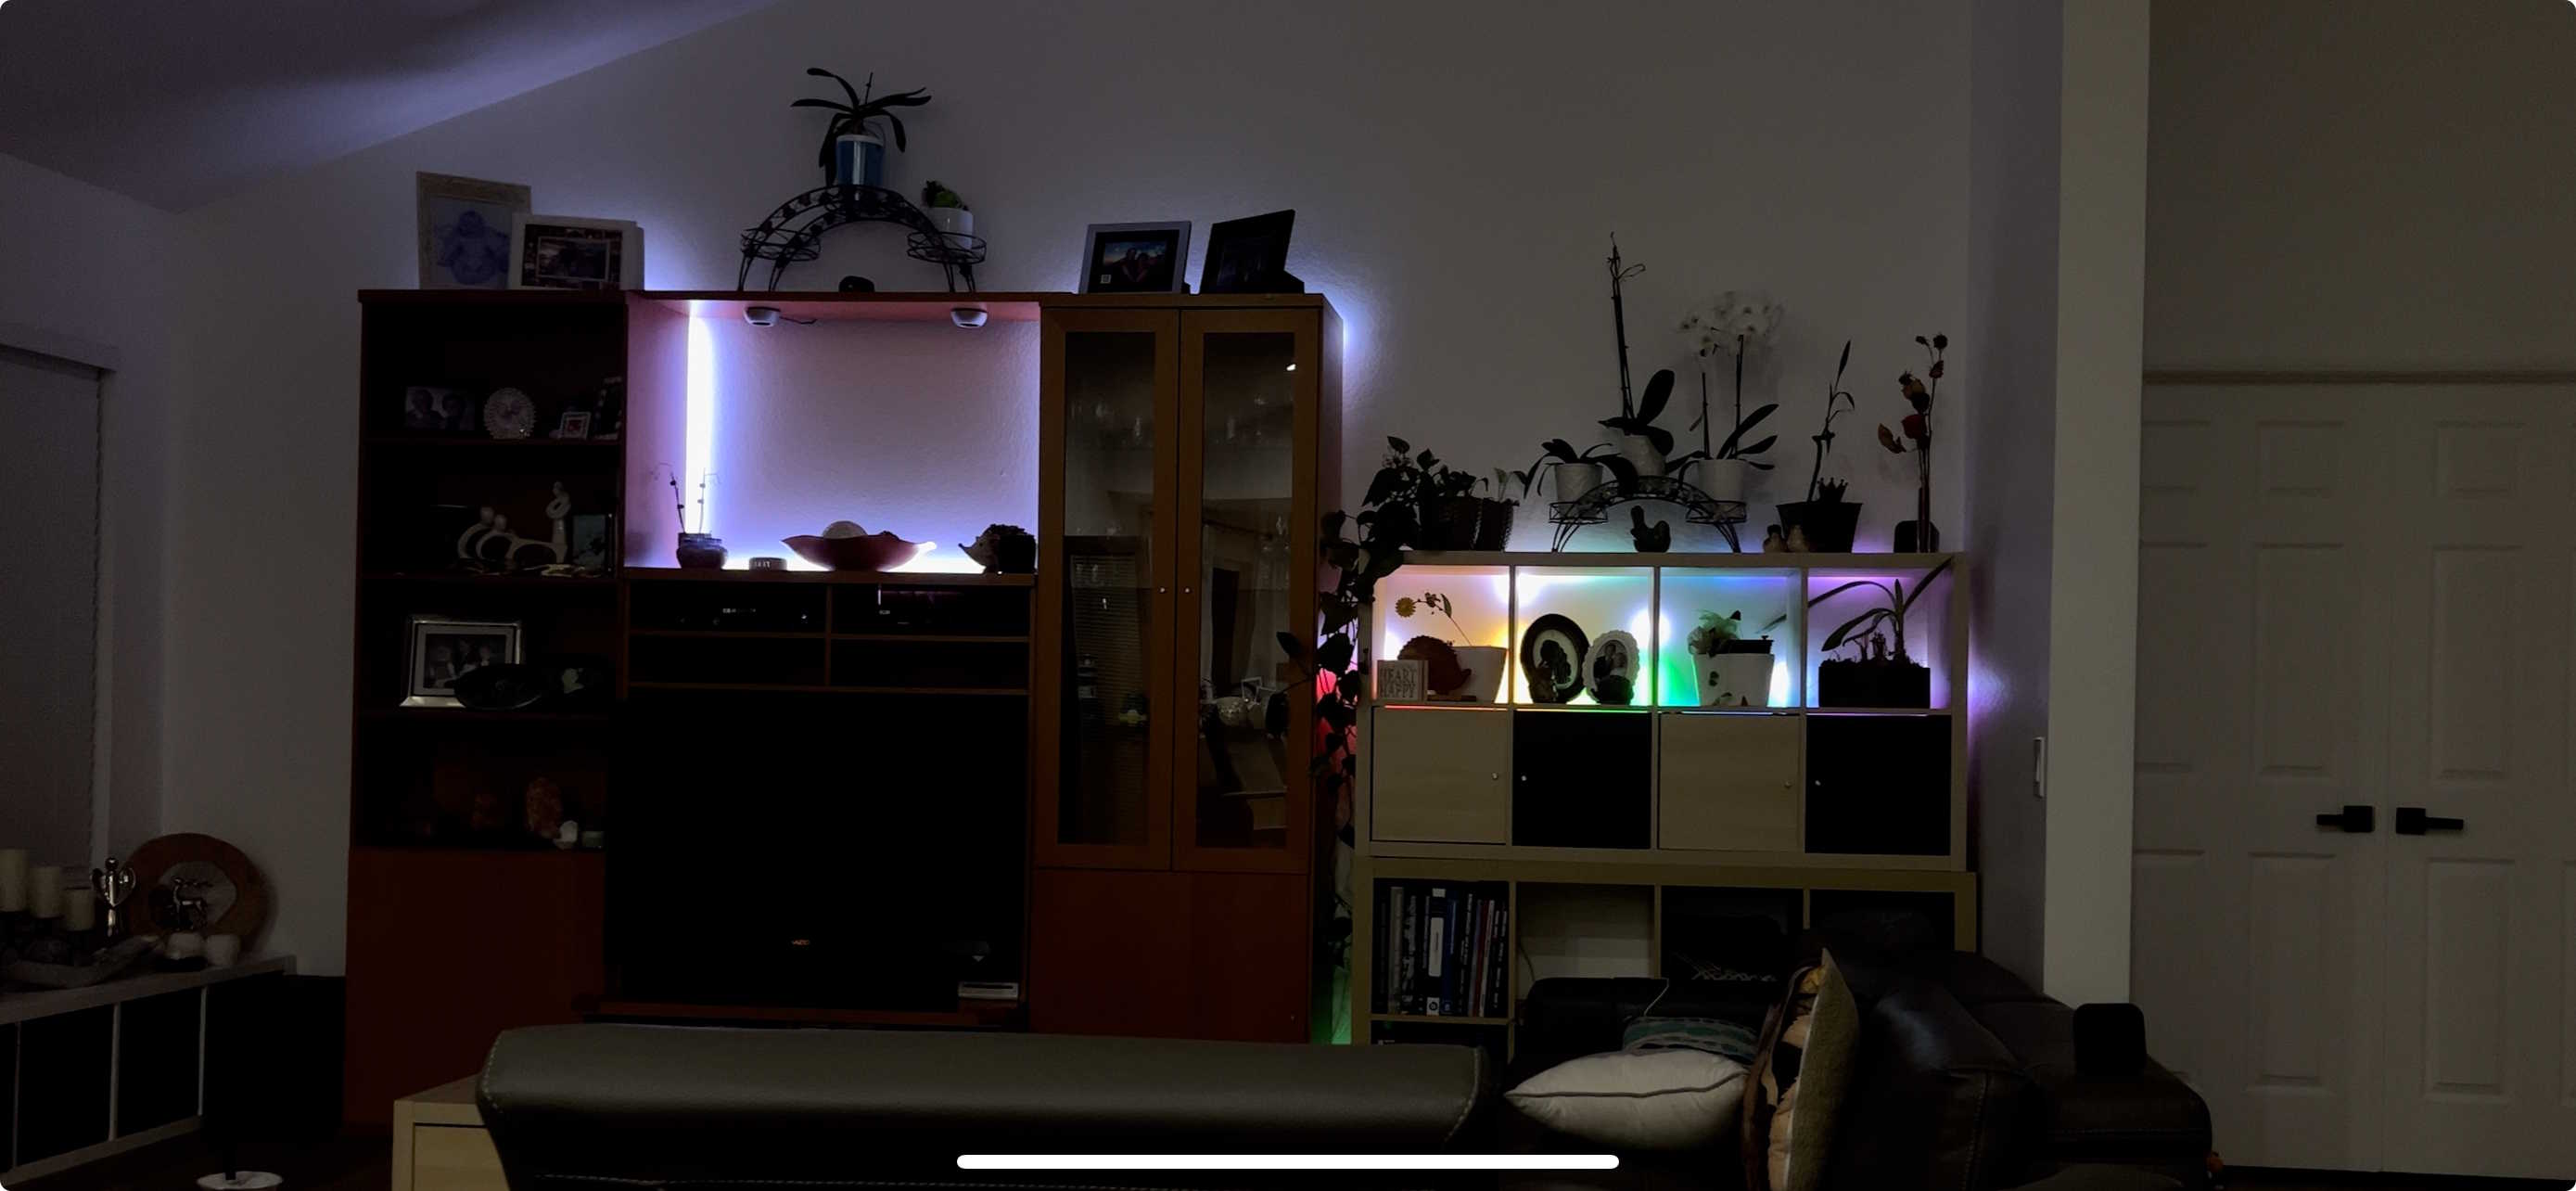
Additionally, I thought it would be cool to attach some audio-reactive LEDs as well, since I've been working with LED strips for a while now. I had something like this in mind:
The Plan
The plan was to update the speaker system to modern standards. Ideally, anyone on the network could easily connect using AirPlay.
I had a Raspberry Pi lying around, a USB sound card, and some LED strips.
For some added aura, I wanted the LEDs to display audio-reactive effects whenever music was playing.
The final plan is outlined in detail below (Note I will touch more on the software later):
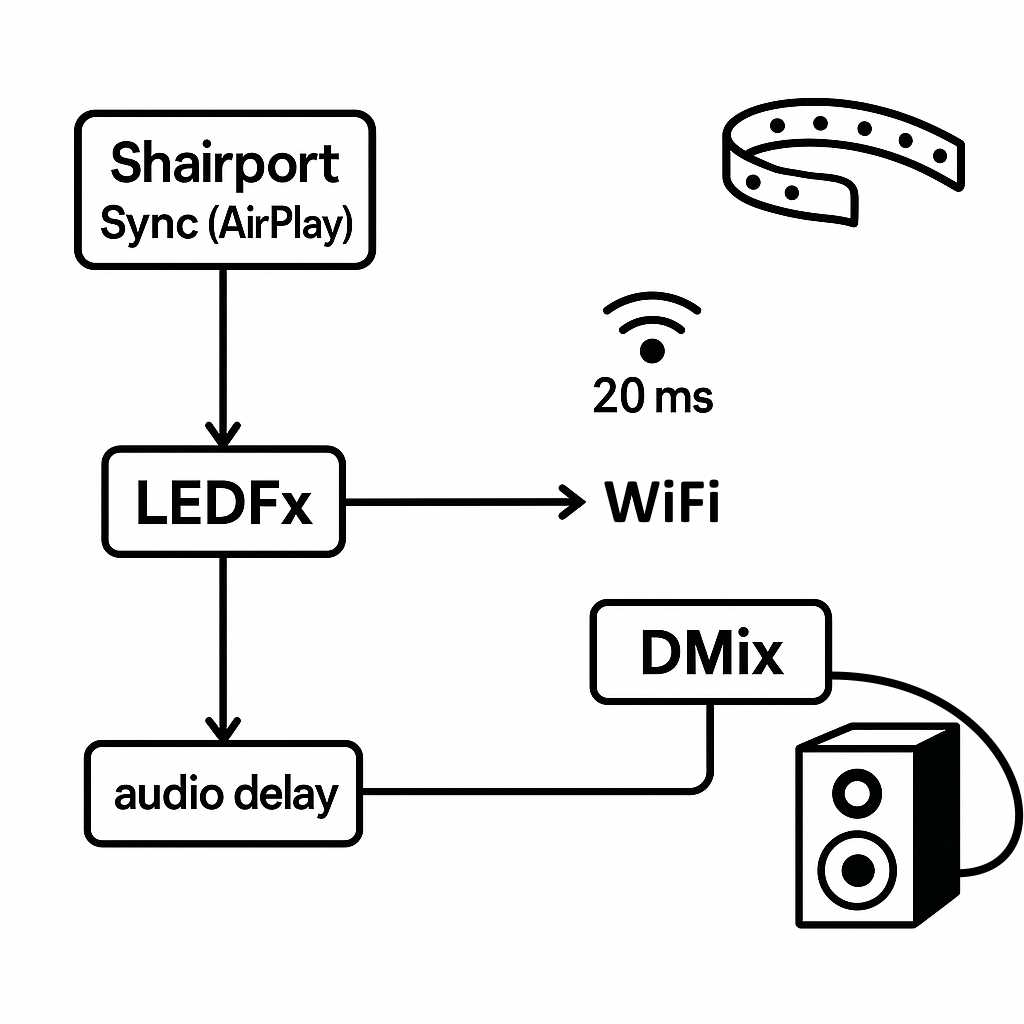
Diagram created with the help of ChatGPT
Hardware
For hardware, I used a Raspberry Pi, USB sound card, and routed audio using 3.5mm cables from the sound card to the aux port on the home theater system.
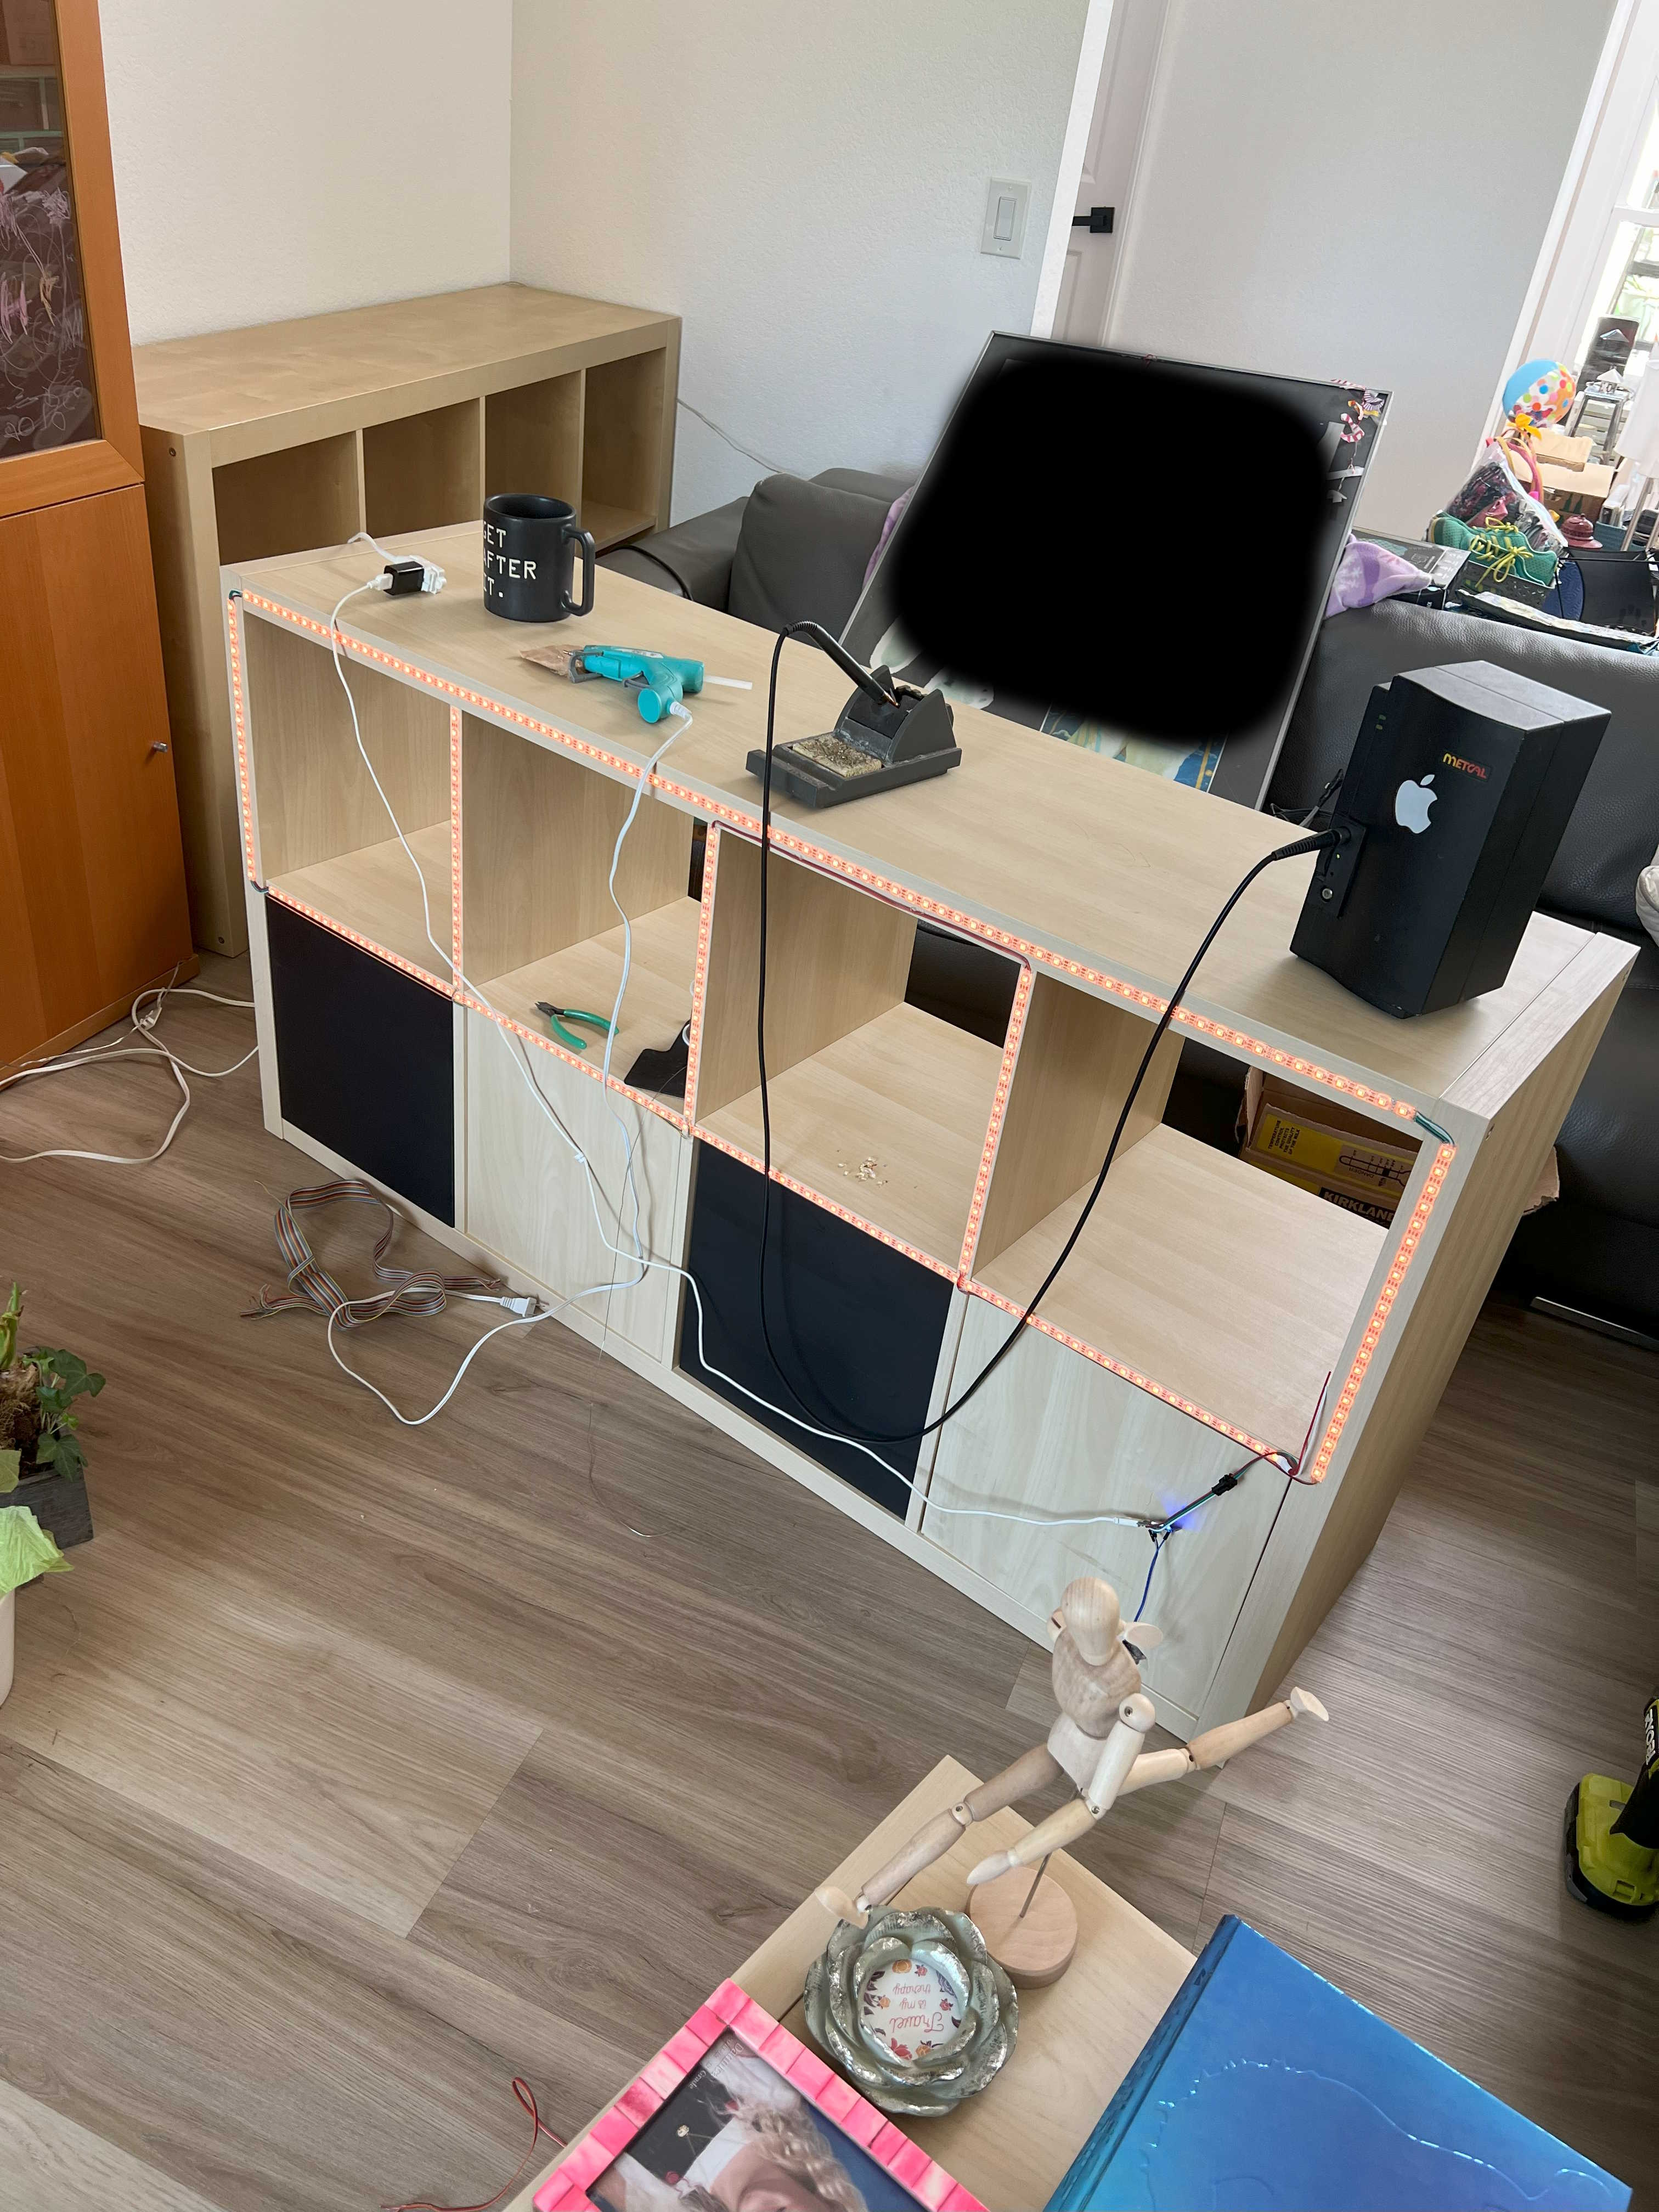
I used my soldering skills to elegantly cut and route LEDs on the back of this IKEA shelf.
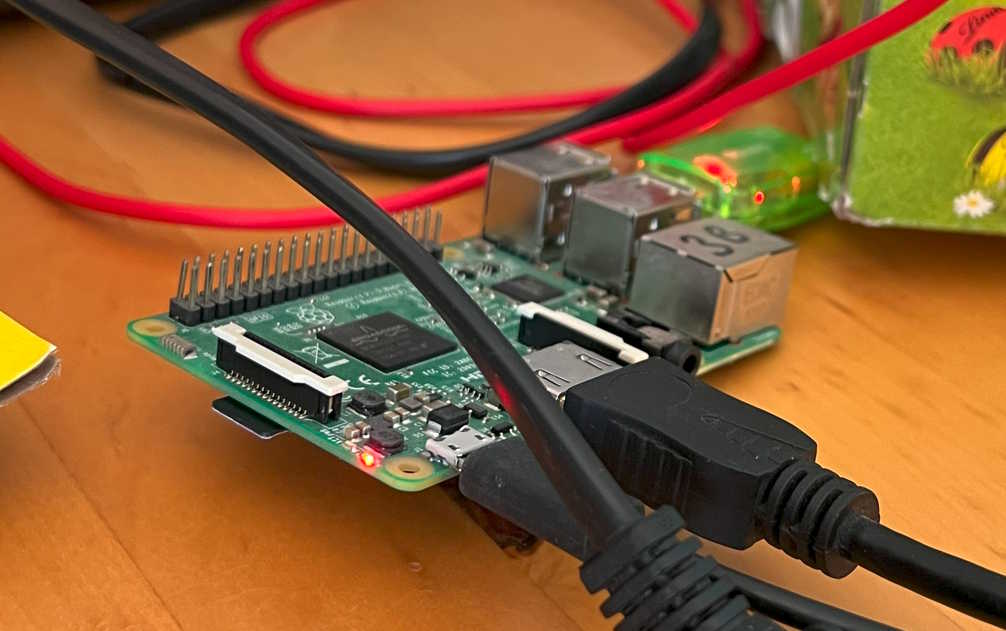
The hardware was the easy part of this project. Here are images of my Raspberry Pi setup as well as the shelf.
Software - ShairPort-Sync
This project was made much smoother thanks to the fantastic work done by the open-source community.
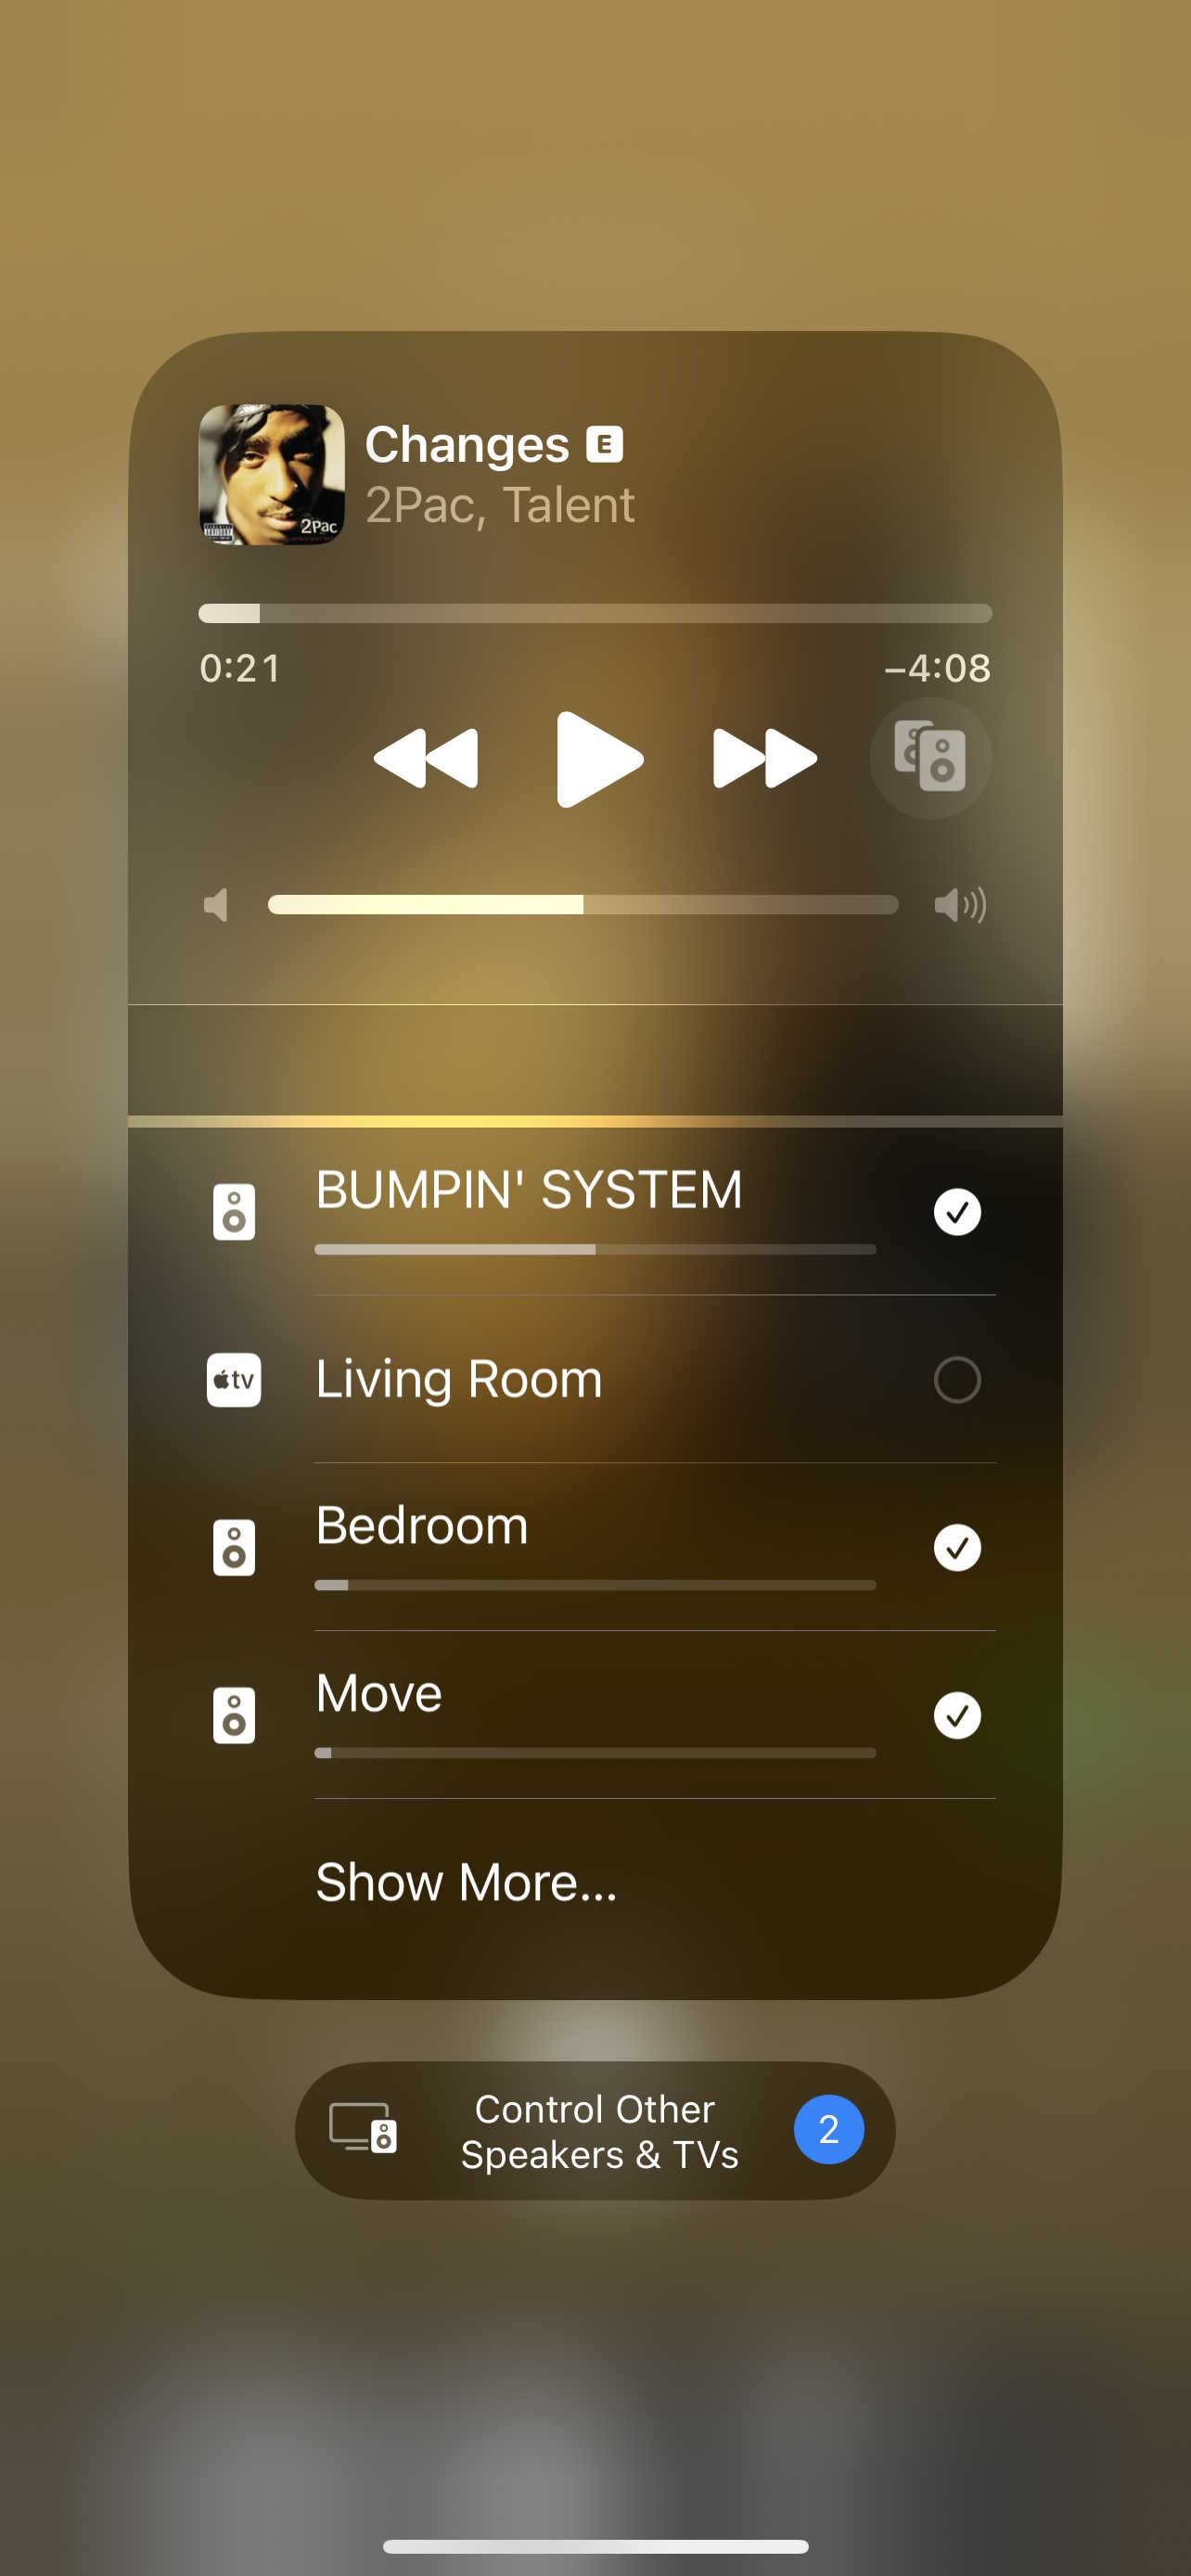
I used Shairport-Sync to turn the Raspberry Pi into an Apple AirPlay 2 receiver, which allowed for many useful features, namely syncing with other AirPlay speakers and customizable audio delay.
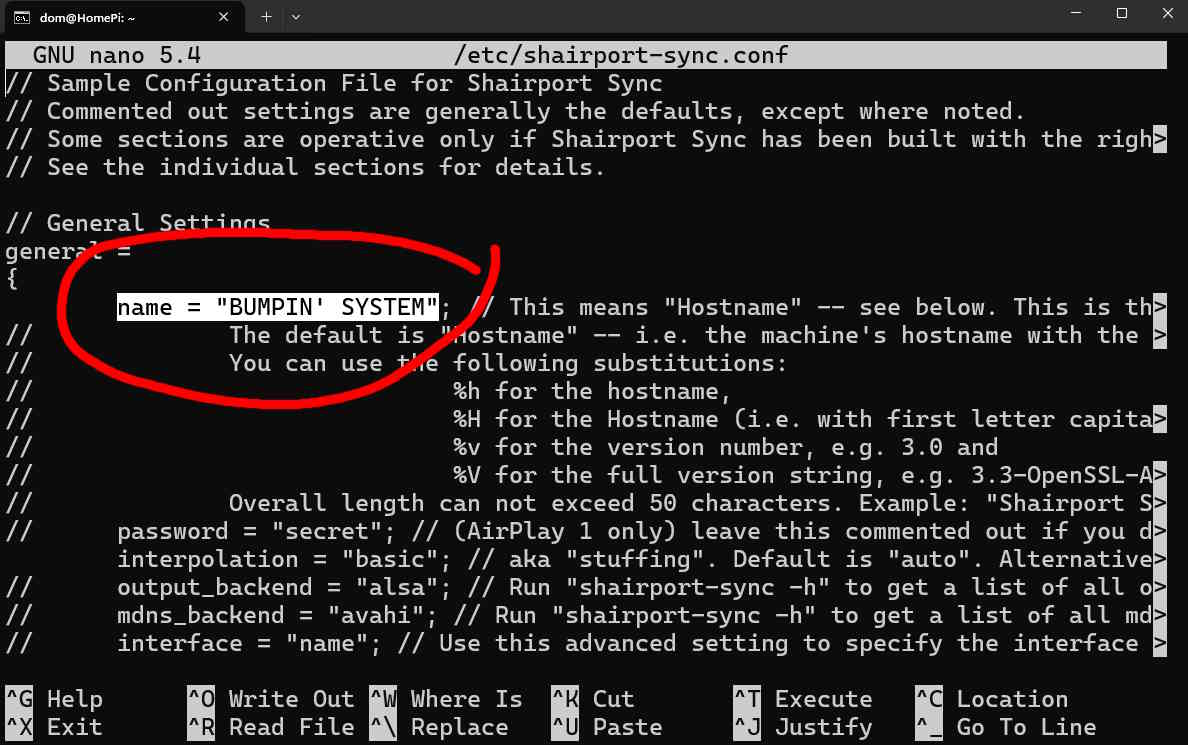
As you can see below, ShairPort-Sync comes with options to give your receiver a custom name as well. Naturally, happy with the new sound system, I fittingly named it "BUMPIN' SYSTEM"
Software - LEDFx
For audio processing and driving the LED effects, I used the Python-based LEDFx library. It handles both processing the audio signal using FFTs, as well as sending UDP packets over the local network to WLED strips on my network.
The audio effects don't require any technical knowledge to set up. However, I tackled a similar project which uses DCTs and signal processing techniques for my mobile app, WLED Tools which you can read about here.
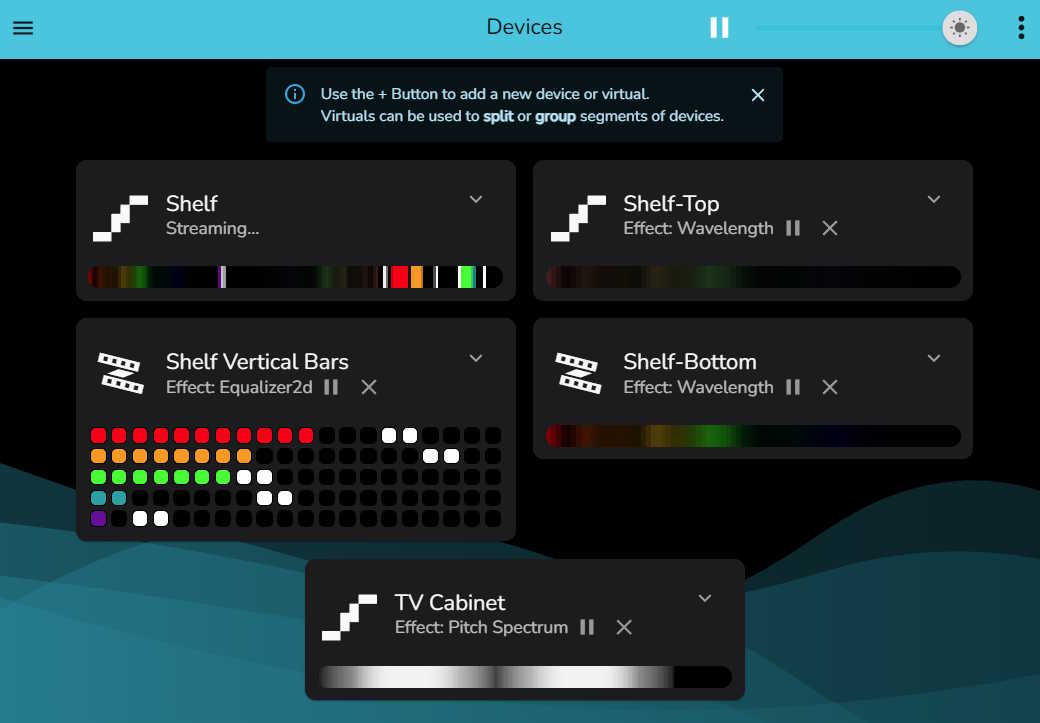
LEDFx is great, it easily drives the ~700 LEDs on the network at 60 fps on my Raspberry Pi 4B. (The WLED chips all use ESP32 controllers and Wi-Fi. In the future I may switch to ethernet to reduce the 2.4GHz bandwidth usage that comes from all that traffic.) Below is pictured the LEDFx dashboard, while audio is playing:
The Final Product
You have read this far, you deserve to see what the finished product looks like. I'm very proud of the final result.